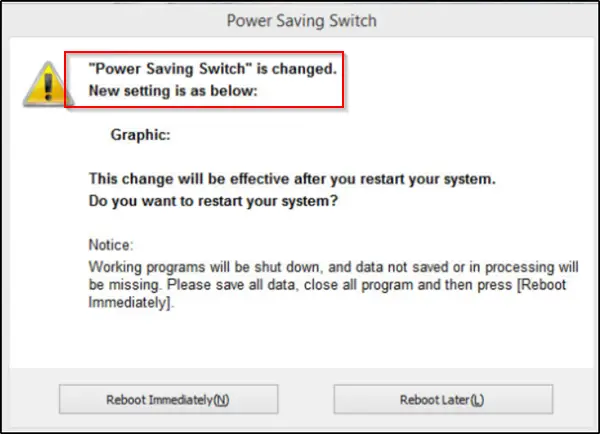
Power Saving Switch is changed in Windows 11/10
If Power Options settings change or reset on their own, here’s what you should do to fix the issue. Although the issue is not new or unknown, there’s no single best solution available for this problem in Windows 11/10. So, you must take a few actions and see which one works for you. If you do not mind taking these actions, proceed further.
1] Restore Power Plan settings to default
Open Control Panel > All Control Panel Items > Power Options > Edit Plan Settings and restore the default Power Plan settings by clicking on Restore default settings for this plan. Do this for all your Power Plans.
2] Change Power Options Advanced Settings and see
You may change your current Power Plan to some other and see if that helps. For instance, if you are currently on Power Saver, change it to High Performance and see if it makes the issue go away. To fix this, you’ll have to go to Control Panel, select Power Options applet, and do the needful. You could also change the Wireless Adapter Settings via Power Options. From the Control Panel Power applet, choose Change Plan Settings > Change Advanced Power Settings. Under ‘Advanced Power Settings’, expand the menu of Wireless Adapter Settings’and choose ‘Power Saving Mode’. Then, change the settings to ‘High Performance’. See if this helps. If it doesn’t, you may reverse the changes made.
3] Run Power Troubleshooter
Run the Power Troubleshooter. You may access it via the Windows Troubleshooters Settings Page.
4] Update Graphics Drivers
Update your Graphics Drivers and see. There are multiple ways via which you can update drivers in Windows 10. Choose a method that you find suitable for yourself.
5] Check Scheduled Tasks
Open Task Scheduler using Start Search. In the left pane, you will see Task Scheduler Library. Navigate to Microsoft > Windows > Display > Brightness. In the right pane, if you see a scheduled task called BrightnessReset, double-click on it > Properties > Triggers tab > Edit. Now disable it and see if it works for you. If it does not help, you may re-enable it.
6] Check OEM software
Check if you OEM has installed a Power manager software, Dell, HP, ASUS, Intel, etc., often do that. That could be causing this to happen. If you are using an ASUS laptop, uninstalling the Asus ATK Package. Or then – this trick has had some success in resolving the issue completely. All you need to do is find and remove the ADS.exe file from your computer. Generally, the file can be found in this location: C:\Program Files (x86)\ASUS\ATK Package\ATK Hotkey
ADS.exe is a process belonging to Advantage Database Server from Extended Systems, Inc. Non-system processes like ads.exe originate from software you install on your system. Since most applications store data on your hard disk and in your system’s registry, it is likely that your computer has suffered fragmentation and accumulated invalid entries which can affect your PC’s performance. As the file is not essential, it can be removed to fix the issue. If you have Intel HD Graphics installed, via its control panel, disable Display Power Saving Technology and see.
7] Force Windows to use Specific Power Plan
You may specify a custom active power plan and force Windows to use it.
8] Troubleshoot using PowerCFG
If you need to further troubleshoot Power Plans, use the built-in PowerCFG command line tool. Let us know if anything here helped you.
