The entire error message says something like this:
The folder ‘virtual-machine-folder-path’ could not be found. You might not have permission to access it. There are two reasons why you are getting this problem, and they are:
When you select the virtual machine folder while importing it on another or the same computer, you must keep the folder intact until the setup is complete. At times, it might take some time for Hyper-V Manager to complete the importing process. In the meantime, if you rename, move or delete the folder from the predefined location, you will get the error mentioned above.If there is some folder or file permission issue on your computer, you can get the same problem. Hyper-V Manager needs to access the exported virtual machine folder during the entire process. If this virtual machine software cannot access your folder due to inadequate permission, you will confront the same issue.
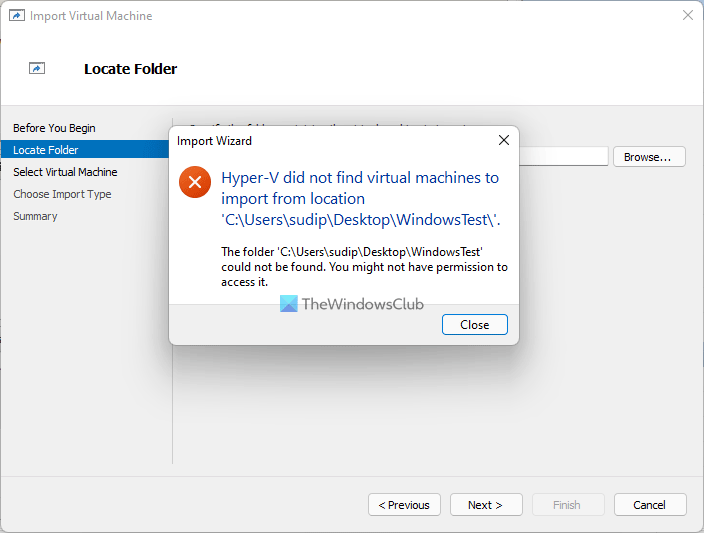
Hyper-V did not find virtual machines to import from location
To fix Hyper-V did not find virtual machines to import from location error, follow these steps: To learn more about these steps, continue reading.
1] Check if the folder is intact
As mentioned earlier, you need to keep the exported virtual machine folder intact when Hyper-V Manager is importing the virtual machine. You cannot move it to another location, delete the folder, or rename it. Therefore, ensure that the selected folder has all the required files and it is there in the predefined location.
2] Check the folder permission
If your user account doesn’t have the correct permission to access the exported virtual machine folder, Hyper-V Manager shows this error message. To verify and regain permission of a folder, you can follow this detailed tutorial. After that, you can go through the same steps to import virtual machines in Hyper-V.
3] Export the virtual machine again
If the exported files are corrupted, there is a chance of getting the same error message while importing a virtual machine. In such situations, it is better to re-export the virtual machine. For that, you can follow these steps:
Open the Hyper-V Manager on your computer.Right-click on the virtual machine.Select the Export option.Click the Browse button and select a path to save the files.Click the Export button.
Now, you can import the virtual machine without any error.
Where are Hyper V virtual machines stored?
By default, Hyper-V stores the virtual disk in C:\Users\Public\Documents\Hyper-V\Virtual Hard Disks folder. However, it saves the data file in the C:\ProgramData\Microsoft\Windows\Hyper-V folder. Nonetheless, if you export a virtual machine, you can save the files anywhere you want.
How do I import a virtual machine into Hyper V?
To import a virtual machine in Hyper-V, you must have all the export files on your computer. Then, you can open Hyper-V Manager and click the Import Virtual Machine option visible on the right side. After that, you need to choose the exported folder, select the virtual machine you want to import, create a unique ID, select the location to save the configuration files, etc. Once done, you can re-access your virtual machine on the new setup. That’s all! Hope this tutorial helped you fix the Hyper-V did not find virtual machines to import from location error on Windows 11/10. Read: Hyper-V encountered an error while loading the virtual machine configuration.