Use Storage Sense in Windows 11 to free up disk space
Enable Storage Sense on your Windows 11
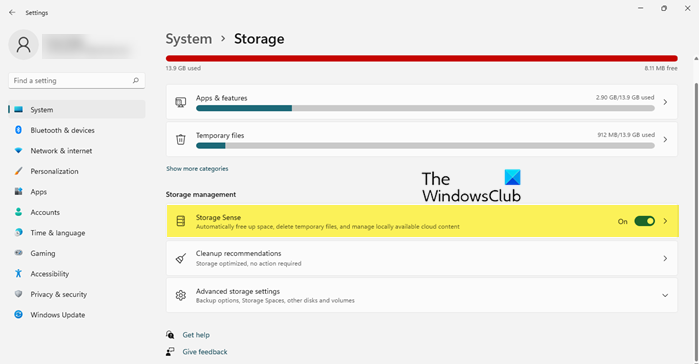
First of all, you have to enable Storage Sense on your Windows 11 computer from the Settings app. Follow the given steps to do the same. Alternatively, you can also search out “Storage Sense” from the Start Menu and then enable the toggle. Either way, you will see a pop-up near the taskbar of Storage settings, just click Enable and you will be good to go.
Configure Storage Sense
Now, let us configure Storage Sense, change its settings and make it work the way you want. To do that, click on Storage Sense after enabling the same. Now, you will see the following options.
Cleanup of temporary files: You can enable this toggle if you want Storage Sense to delete temporary files.Automatic User content cleanup: To run Storage Sense automatically.Run Storage Sense: From here you can select when you want to run Storage Sense. The options are:Every dayEvery weekEvery monthDuring low free disk space (default)Delete files in my recycle bin if they have been there for over: Select the lifespan of your bin files, after which they ought to be deleted by Storage Sense. The options are:Never1 day14 days30 days60 days.Delete files in my Download folders if they haven’t been opened for more than: To delete redundant downloads. The options are:Never1 day14 days30 days60 days.Locally available cloud content: To clean up unused items from your Cloud Storage. The options are:Never1 day14 days30 days60 days.
Run Storage Sense manually
If you want to run the Storage Sense manually, just click on the Run Storage Sense now button.
Storage Sense Cleanup Recommendations
When on the Storage page, scroll down a bit and click on Cleanup Recommendations. Windows will show you a list of junk and temporary files that you can safely delete. There are mainly four sections under Cleanup recommendations that you can access to find and clean temporary items and other data to free up disk space. These are:
Free up storage space on other drives in Windows 11
Windows 11 Storage Sense feature is pretty good. However, this feature works for the system drive only (C drive or the drive where you have installed Windows) and not the other drives. So, if you want to free up space on other drivers in Windows 11, then use the following steps: Now you will be able to see the storage space used by different categories (Apps, Pictures, Temporary files, Music, Documents, etc.) in the selected drive and access any category to take further action.
How to remove Temporary files in Windows 11
To remove Temporary files in Windows 11, you have to follow the given steps. Wait for a few minutes as Windows will automatically clean up your system.
How do I find out how big my Hard Drive is in Windows 11/10?
The easiest way to find the size of your Hard Drive is to open File Explorer, and see the figures mentioned for each of the partitions and add them. You will get to know how big your Hard Drive is.
How do I free up disk space on Windows 11?
If you want to free up disk space on Windows 11, then one of the best and recommended options is using the Storage Sense feature. It helps to automatically clean temporary app and system files, copies of installed updates, etc. You can configure it to run every day, every month, etc., and also set other options. This post covers all the steps to enable, configure, and use Storage Sense in Windows 11. Related reads:
How to Disable Storage Sense using Registry or Group Policy EditorAutomatically delete Junk files using Storage SenseStop or Make Storage Sense delete files from Downloads folder using Registry or Group Policy Editor.
How do you find Storage Sense, as compared to the Disk Cleanup Utility or third-party software to clear up junk files? Let us know in the comments.