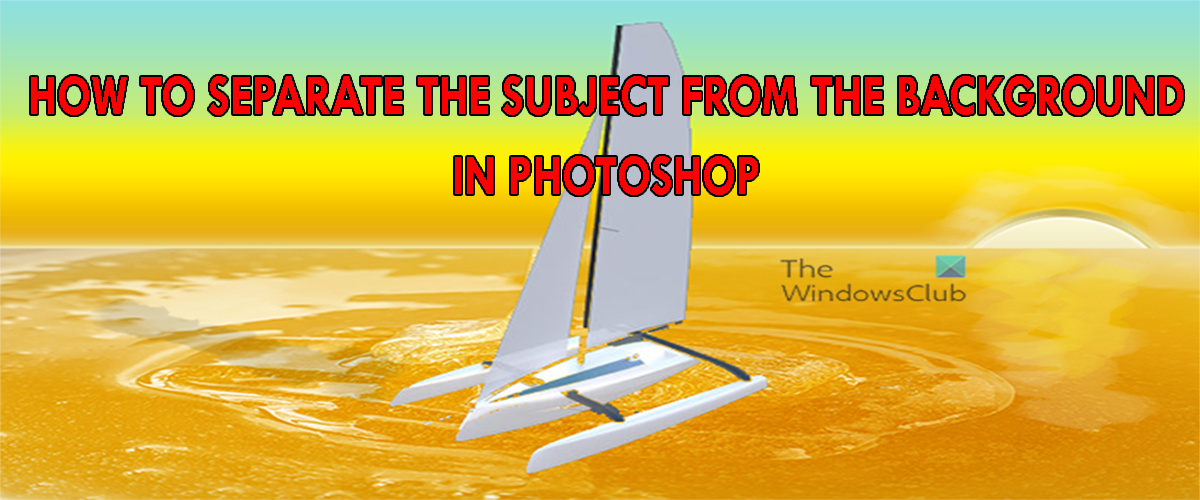
How to separate the Subject from the Background in Photoshop
The subject in Photoshop is usually what the picture is about. For example, you may take the picture of someone at the beach. The person in the picture is the subject and everything else would be the background. Separating the background from the subject may be because the background has undesirable things. Someone may have run in the background. The background may also have distractions or colors that are taking away from the subject. Separating the subject from the background can also help when you want to adjust an image or change the background to something else. Separating the subject from the background in Photoshop can be used with other tools and effects to bring out more in a photograph. For example, you could use the puppet warp tool to add give the subject a different range of movements or different positions while the background remains unaffected. The steps to separate an image from its background in Photoshop are as follows. You can isolate the subject from the background by following this method.
1] Place the Image in Photoshop
Before the process of removing the background, you need to get the image into Photoshop. One method of getting the image into Photoshop is to find the image then right-click on it and choose Open with Photoshop
2] Select the subject
There are several ways to select the subject in Photoshop. You can use the Pen tool, Lasso tool, Magnetic lasso tool, Magic wand tool, or the quick selection tool. For versions of Photoshop that are later than 2020 you can go to Select then Select subject. This is a much easier way to select the subject of the image, Adobe uses AI to figure out the subject and make a selection around it. The tool that you will use to select the subject will depend on the image. Images with lots of colors will need a tool that can cut around the subject as accurately as possible. For this image, the Magic wand tool will be used. The Magic wand tool will do well because it will select the image easily. To access the Magic want tool, go to the left tools panel and click the Magic wand icon, To select multiple places without breaking the selection, hold Shift while you select. Instead of selecting the background, the subject in the image will be selected.
3] Copy the Selection
When the full subject has been selected, right-click on the subject image and choose Layer via copy. This will create a new layer using the selected areas. Ensure that the selection is well done or the copy will have missing pieces, the missing pieces will not be obvious until the original image is gone. To see if the copy has all the parts turn off the original by clicking the eye icon on its layer. The copy layer will be left and you will be able to see if there are any missing pieces. If there are missing pieces, turn on the original layer and go to the History panel and go back to the last Magic wand action. Make sure that the Magic wand tool is selected and hold Shift and click the unselected areas that are missing, you may have to zoom in to see properly. When you have verified that all the subject image has been selected and copied as a new layer, you can select the new layer and move it. You should see two of the subject image.
4] Remove the original subject image
The aim at this point is to have the copy of the subject image and the background while the original subject image is deleted. This will be achieved with the use of the Clone stamp or the Content-aware feature. The Content-aware feature will be used in this article.
To use the Content-aware feature you will have to select the part that you want to cover. Go to the left Tool panel and click the Lasso tool. Hold the left mouse button and then drag around the image that you want to remove, make the line as close as possible without cutting the image. The outline does not have to be neat. Notice the image with the outline, that is the original subject image, it will be filled over.
When the outline is finished, go to the top menu bar and select Edit then Fill or click Shift + F5 or Shift + Backspace. The Fill option box will appear. under Content click the drop-down arrow and choose Content-aware. When you have chosen Content-aware click OK to confirm or Cancel to stop the procedure.
When you have clicked Ok you will notice that the object that was selected is gone and the background is there with the copy of the object. The Content-aware filled the spot with the background color. To get rid of the outline just click inside it with the selection tool. You will notice that the background and the subject image are separate, you can move the subject image without affecting the background, you can also make changes to the subject image and the background will not be affected. You can also make changes to the background and the subject image will remain the same.
5] Beautify the final image
You can choose to add things to the background, In this article, I will add some juice and have the boat sail in it. You can choose to blur the background or change the color or do anything else that you want.
6] Save
After all that hard work, it is now time to save. While you were working you should have been saving the file just in case something happened, it would not be lost. That means the first save would be as an editable Photoshop PSD file, when everything is finished it can be saved as a JPEG for use online or for sending online via email or social media. A copy can also be saved as a PNG file without a background. Read: How to recolor objects in Photoshop
How do you cut an object out of a picture?
There are several ways to select the subject in Photoshop. You can use the Pen tool, Lasso tool, Magnetic lasso tool, Magic wand tool, or the quick selection tool. For versions of Photoshop that are later than 2020 you can go to Select then Select a subject. This is a much easier way to select the subject of the image, Adobe uses AI to figure out the subject and make a selection around it. The tool that you will use to select the subject will depend on the image. Images with lots of colors will need a tool that can cut around the subject as accurately as possible. When the object has been selected you can then choose to press delete if you want to delete it. You can choose to copy it so that you can keep it.
How do I isolate an object from the background in Photoshop?
To isolate an object from the background in Photoshop, you need to cut the subject first. For that, you can use the automation tool included in Photoshop to select the subject of an image. Following that, you can create a layer of the subject. Next, you can use the Isolate option to get the job done.